To get the Dragon Theme set-up correctly there are a few steps that you have to take
Below you will see a few links to different blank images that are in this theme
To create a image suitable for your selected theme, copy this link and follow the details of using an online image editor – SumoPaint
1. Logo
This themes sample site has a logo size of:
200 x 50 pixels (width x height)
Sample Image Link
http://static.wearequick.com/themeimages/dragon/logo.jpg
You can add your new logo in the admin area by going to admin > system > settings (image tab)
Click here to view more details about how to add a logo
2. Shop Details
Now your shop has been setup, you can modify your shops name, location and currency.
You can do this in the admin area by going to admin > system > settings
The fields you should edit are:
| General Tab:Store Name: Address: E-Mail: Telephone: Fax: | Store Tab:Title: Meta Tag Description: | Local Tab:Country: Region / State: Currency: Length Class: Weight Class: |
Click here to view more details about modifying the settings area
3. Home Page Slides
This themes sample site has a home page slide size of:
1140 x 352 pixels (width x height)
Sample Image Link
http://static.wearequick.com/themeimages/dragon/slide.jpg
Adding New Slides
You can add your new slide in the admin area by going to admin > system > banners
Find the banner called ‘SlideShow’ and click edit
Click here to view how to use the Banner Module
Slide Control
If you would like to change how the slides are displayed you can click admin > system > slider control
This area lets you select
- Slide Effects
- Pause Between Transitions (ms)
- Animation Speed of Transition (ms)
- Pause on Mouse Over
You can also add slides to other pages by clicking the ‘Slider Image Manager’ tab
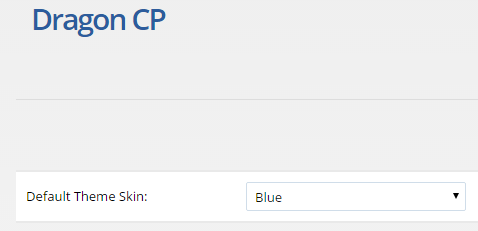
4. Shop Colors
This shop design has a number of premade colors you can use
To edit your shops colors go to admin > system > theme color picker

Select the color scheme from the drop down box
Click save
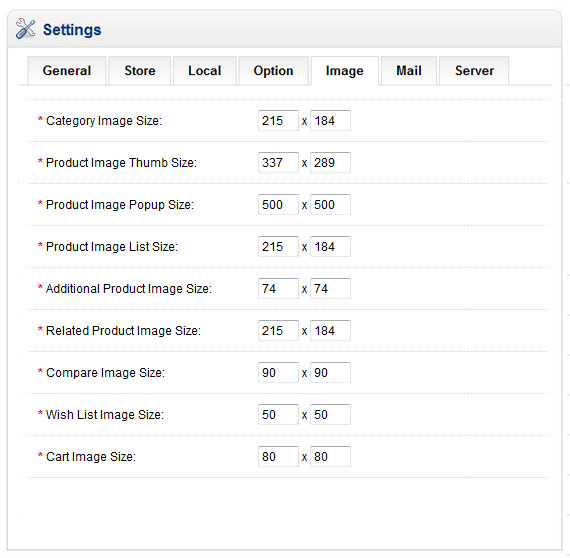
5. Shop Default Image Sizes
You can modify the size of the images displayed in your shop by going to admin > system > settings ‘image tab’
If you would like to have the default sizes displayed again, you can view what they are in the image below.
6. Adding Product Categories
To make it easier to manage products we use categories. This lets you group similar products together
You can do this in the admin area by going to admin > product > categories
Click here to view more details about adding a category
7. Add a Product
Now your shop has at least one category, you can now start to add your products to sell.
You can do this in the admin area by going to admin > product > Your Products
Click here to view more details about adding a product
8. Update Your Shipping Options
Your shop comes setup with a few different shipping modules preinstalled
These are available by going to admin > extensions > shipping options
Click here to view more details about the different shipping modules
9. Add Shop Information
The Internet is all about Information so now is the time to add in some content to your site.
You can do this in the admin area by going to admin > information > Information Pages
Click here to view more details about adding Information Pages
Leave A Comment?